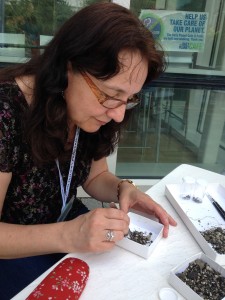
This was a very interesting week; lots of learning happening. Bucky , our mentor, has been great and patient, teaching us about finding and separating fossils from a sample of sediment from the Aurora Phosphate Mine.
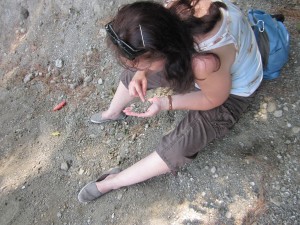
From a small sample of sediment in a small box, we started sorting out shark teeth and other items we thought were fossils, just by going slowly through the whole sample of sediment. This was my first time doing something like this, with little prior knowledge of how fossils look like. I felt great though, digging into that small sample. I felt like a scientist! But also realized you have to have good eyesight and experience to sort things out correctly. Being my first time, I felt unsure of what some items were, wondering: is this a fossil or not? I was working with tweezers and a thin paint brush, moving the sediment around, and asking myself, is this a fossil, or not? But I pulled out everything I thought was a fossil. Bucky went through our sorting afterwards checking what we had done. I had a lot of shells or pieces of them, and had missed taking out a few shark teeth. This was a good experience, putting myself as a student, and feeling what a student would go through when doing this. I know I missed identifying several fossils, but seeing what I missed has helped me learn more on what to look for from now on.
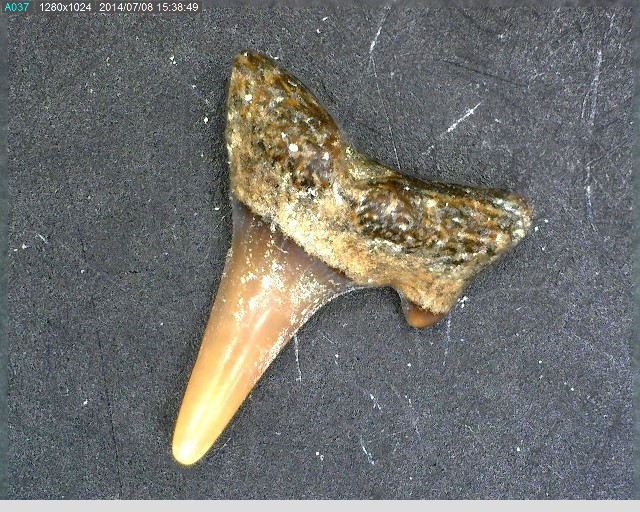
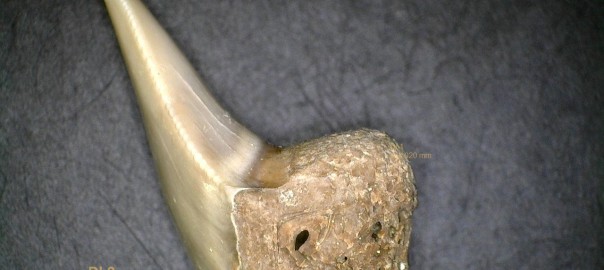
The next day, we looked for shark teeth and other fossils in the sediment, but this time using a microscope; a lot easier to sort out and see distinctive shapes. This time (my second time doing this) I felt more confident on what I could identify. There were just a few times I was not sure what I was looking at, but could sort out shark teeth easily. So, after separating shark teeth, and other fossils like vertebra, bone of fish, fish teeth, ray teeth, and others, we went ahead to the next part; identify the shark teeth using an identification sheet , which had pictures of different shark teeth. This was my first time doing this, with no prior knowledge on how to do it. The three of us were matching the tooth with the pictures, which wasn’t easy to do. We were looking at different morphology of the roots and crowns, and their proportions. We couldn’t tell clearly if it was a tooth from a Lemon Shark or from a Copper Shark. I wasn’t sure we were identifying these correctly, and was less sure when identifying other fossils like bones, using the back if the ID sheet. When thinking on how students would feel doing this activity, I thought they might feel frustrated, But at the same time would enjoy it. It could also be a good activity for them to start looking at shark teeth morphology, shapes, proportions.
We were partly correct with the identification, after Bucky checked on us. But the most important thing he said was that ” it was hard to identify the teeth due to the variability of teeth within species”.
Good activities to do with our students.
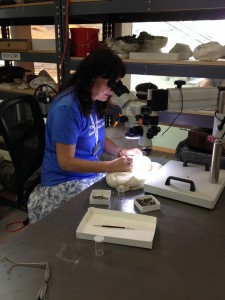
This time finding shark teeth using a microscope.
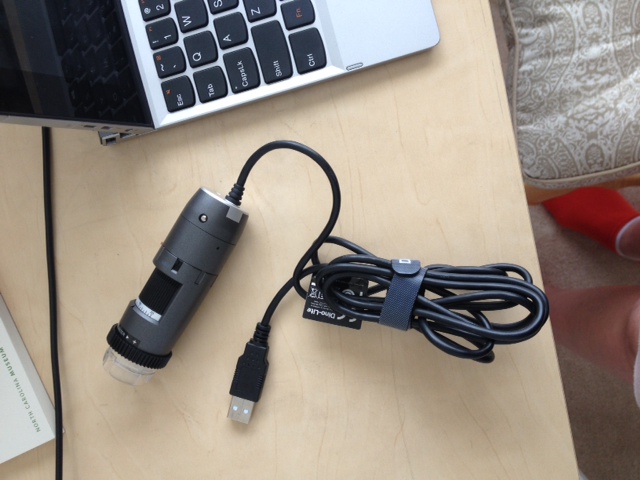

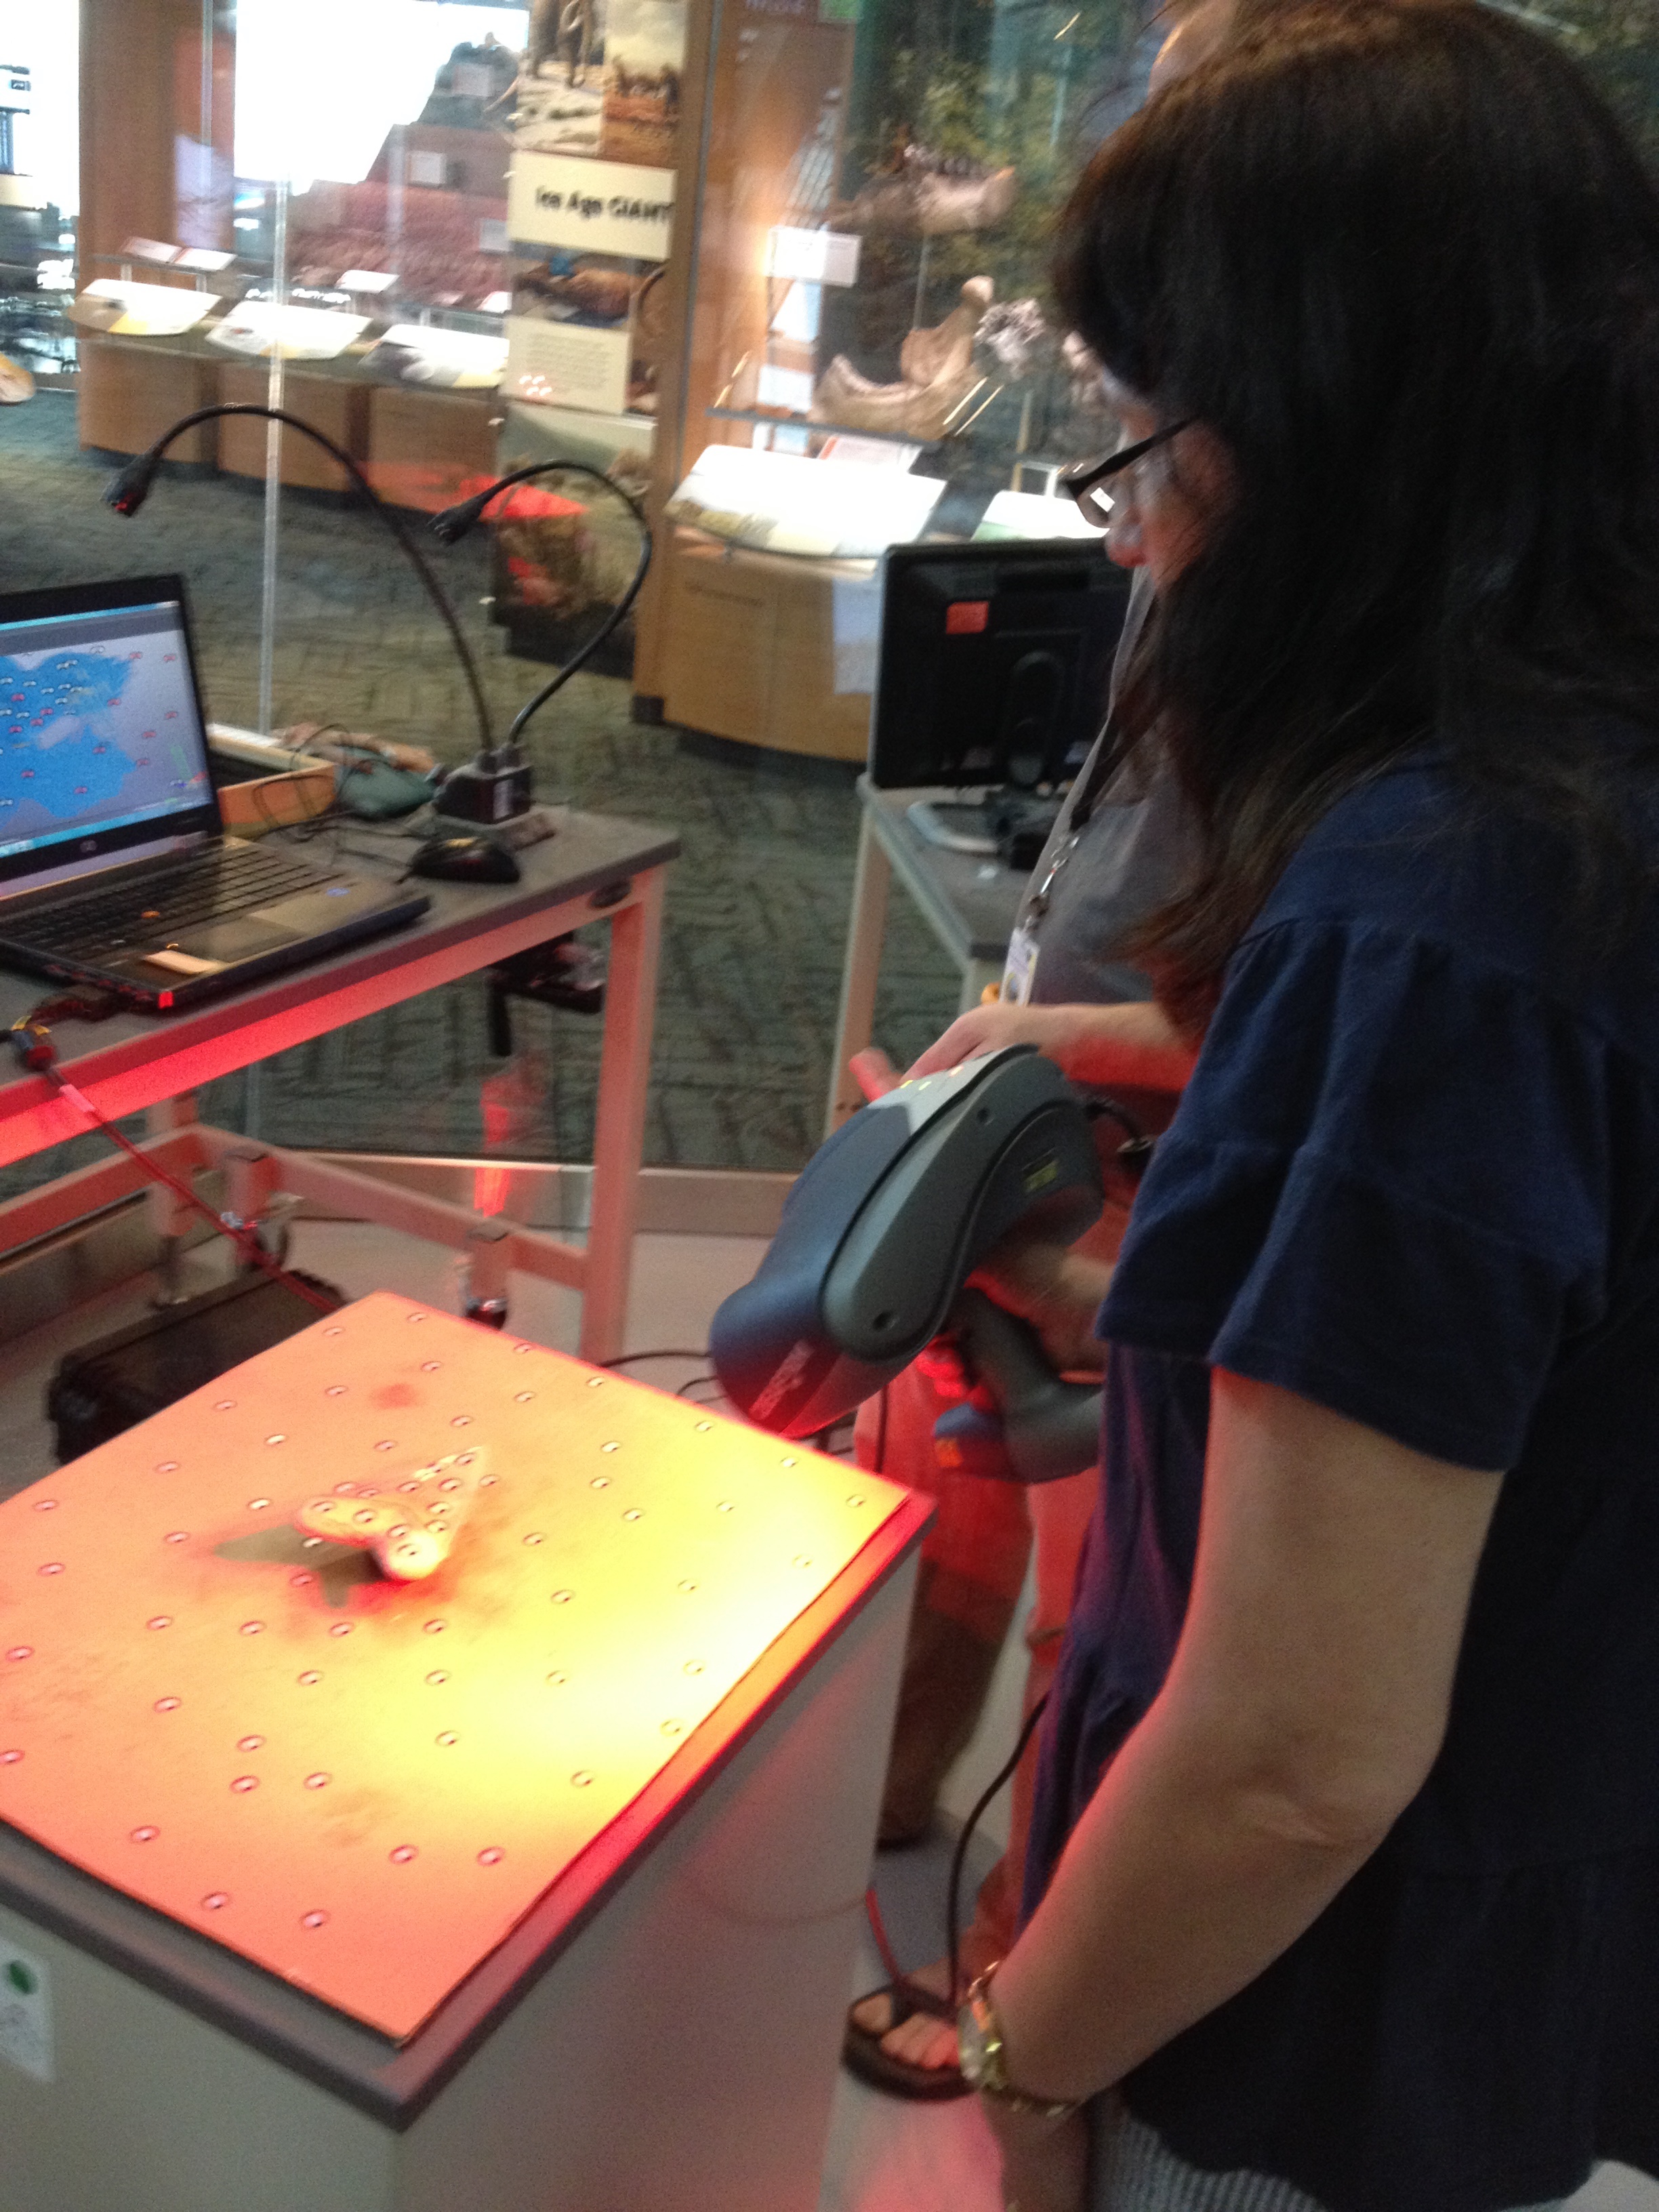
 tooth we were scanning, and we couldn’t. To obtain a precise 3D printed object we would have to start again because the scanning wasn’t done well enough. So technology isn’t always easy to use and it can be time consuming.
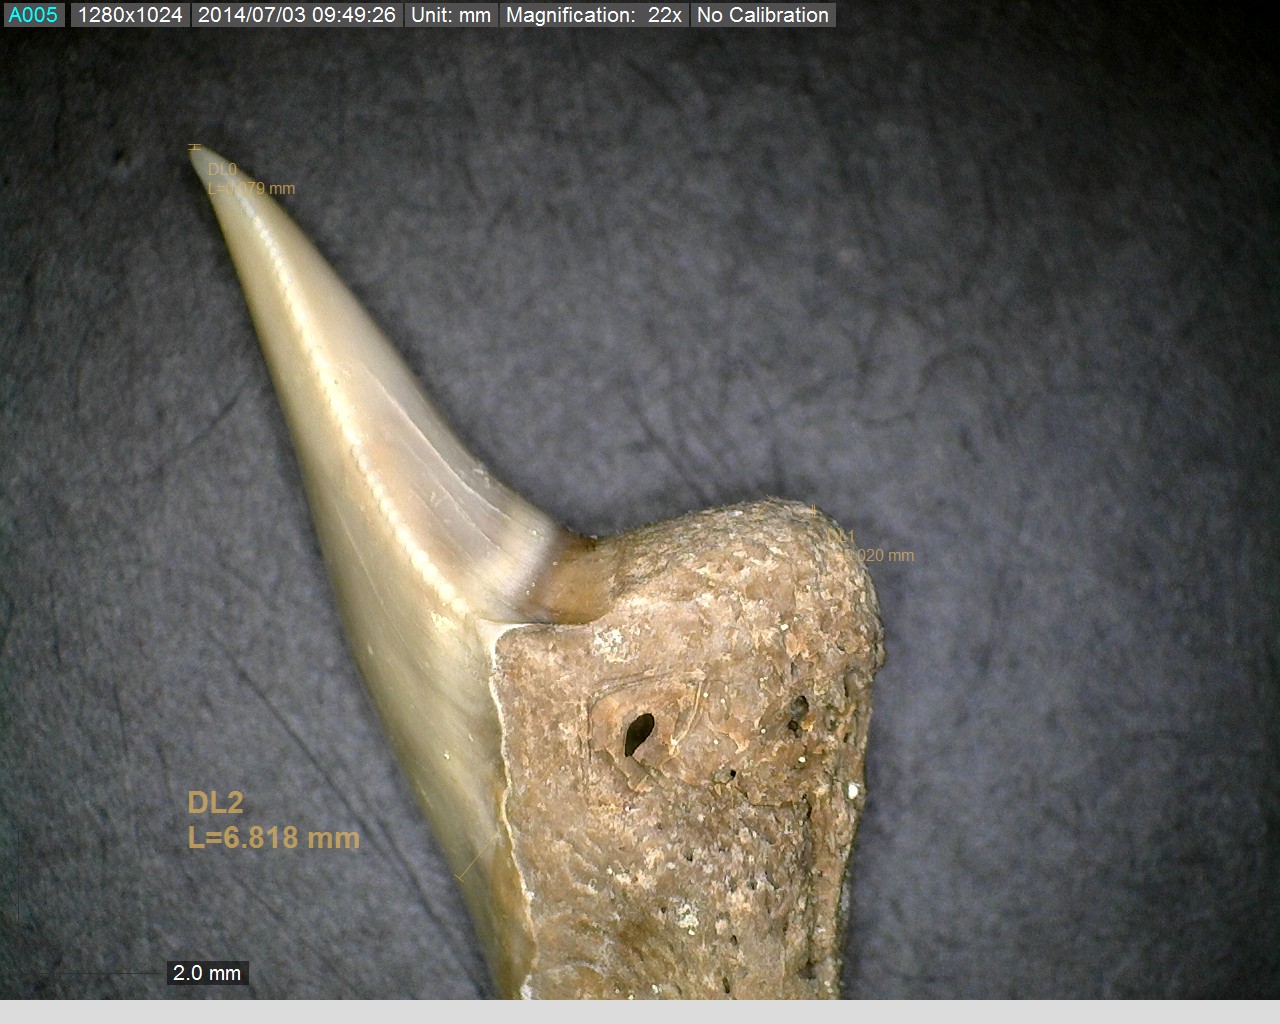

