Lesson 12: Building a Propeller-Driven Vehicle

Activities:
- Students construct the propeller to be used in the vehicle (see page 120 of the teacher guide). The text says to prepare the propellers for the students, and the teachers are going to learn how to do this preparation.
- SCIENCE NOTEBOOK:
- The research question is How does a propeller affect the motion of the vehicle?
- Students will think-pair-share “Design Ideas for Propeller-Driven Vehicles.” (List ideas on the board).
- Compare and contrast the technical drawings so far (standard car versus propeller-driven vehicle). The propeller-driven vehicle technical drawing is on page 48 in the student book.
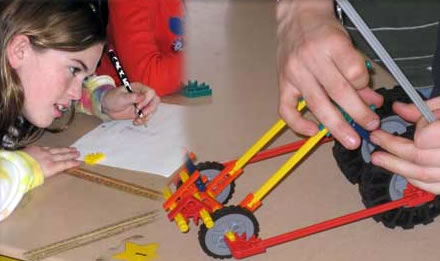
- Students construct the propeller-driven vehicle on page 48 of the student book. Students will get the vehicle to move.
- SCIENCE NOTEBOOK:
- Students use the sample data table on page 49 in the student book to record data.
- Students write a conclusion about the motion of the propeller-driven vehicle (based on the data).
- Students will share their results with the class.
- Discussion questions:
- How did you get the vehicle to move?
- How did you get the propeller to spin?
- What happened to the rubber band as you wound the propeller?
- What happened when you let go of the propeller? Why do you think this happened?
- How is the use of the rubber band with the propeller-driven vehicle and the axle-driven vehicle the same? (energy to move the vehicle stored in rubber band, vehicle moves when energy is released)
- How is the rubber band used differently? (rubber band is twisted on propeller-driven vehicle, not wrapped around the axle; rubber band moves the propeller, not the axle)
- SCIENCE NOTEBOOK: Students complete the LOL based on student sharing of ideas and class discussion.

